
Well, the front part today at least. Regarding the “digital” parts of photography, many articles have already covered the importance of checking that your computer output device (monitor, and eventually printer) are properly calibrated/profiled etc…, so that the colours represented “in the digital domain” (i.e. as numbers in your computer) come out looking like we’d expect them to. Up to now, not so much attention has been paid to what happens before we get into the “digital domain” in the first place – i.e. how the camera we use perceives colours, and also how the lighting we have may be affecting the way it “sees” the colours.
There are basically two things that can affect the way a camera will record the colours in a scene:
- The light illuminating the scene. For most sources, its “colour temperature” – though other sources like LEDs and low-energy lights have special characteristics too. (These can be weird: they emit light with very irregular spectra, with some colours missing altogether so they could appear as black in your picture!) In general, your camera flash is the best bet where practical, but if you must use continuous lighting, lamps (including LEDs) have a “Colour Rendering Index” (CRI) which must be above 90, preferably 95, if you need to render colours correctly.
- The camera sensor. Here, problems could be caused by a variety things, but the combined effect of these is that the cameras sensor is a good, but not perfect, converter of light to digits.
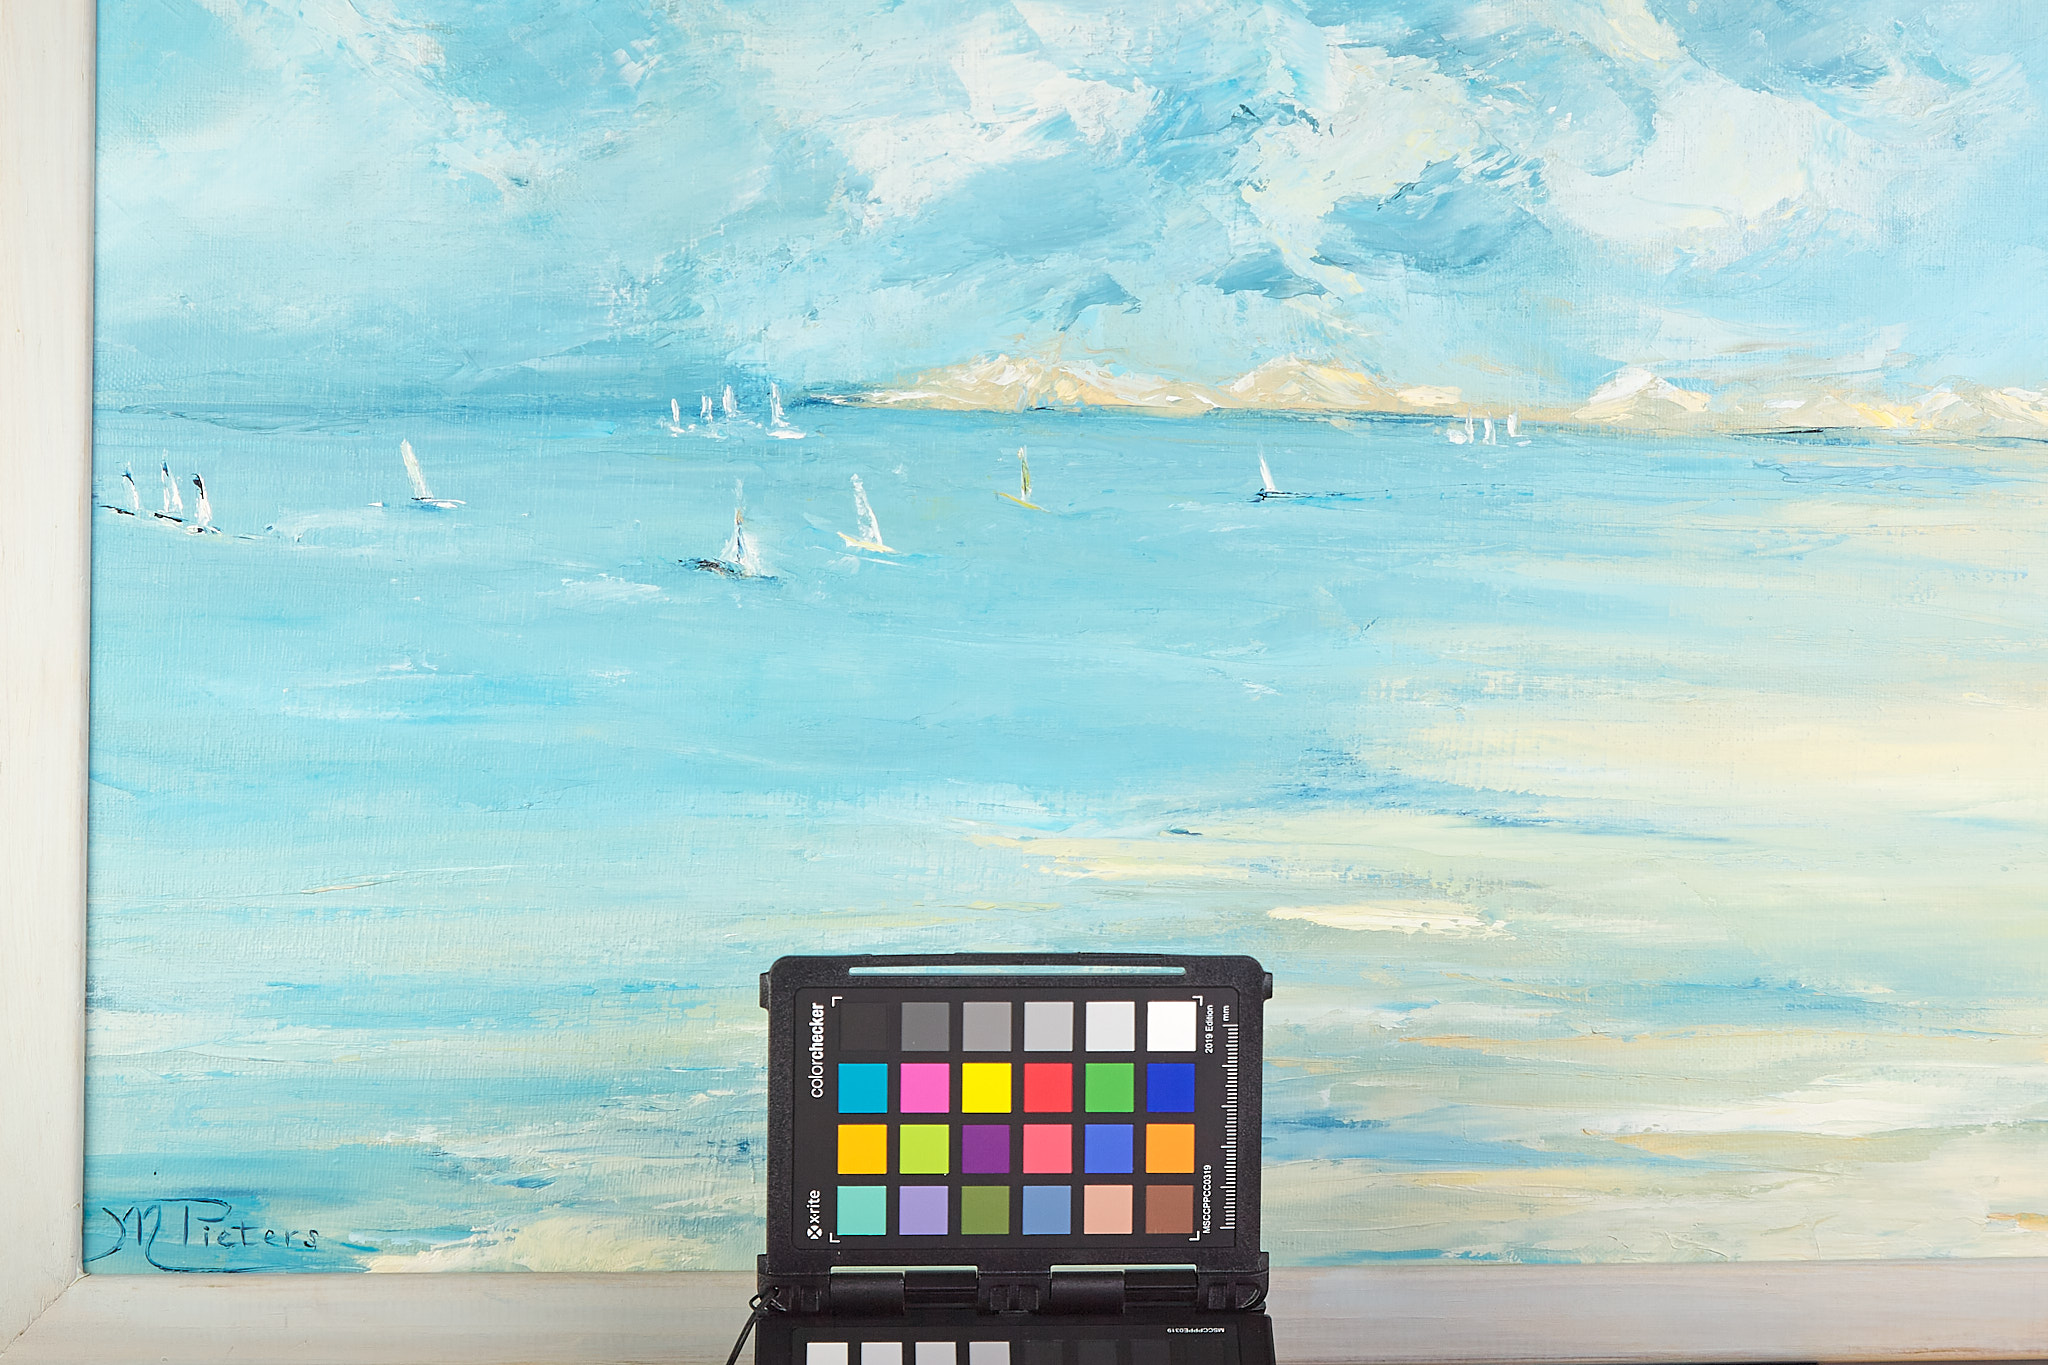
Both sources of colour variation can be addressed in one go, by using a colour calibration chart. By photographing this chart alongside the subject of your picture, a “profile” can be built that can be used to cancel out pretty well all of the affects mentioned above.
Looking into what is available, it became apparent that, while support for Adobe products seemed fairly prevalent, other platforms such a Capture One (my photo processor of choice) seemed less well served. X-Rite Pantone® seemed to be the only reputable source of the necessary tools (my ColorMunki Photo monitor calibrator comes from there too). On the basis of this I purchased an X-Rite “ColorChecker passport”, and downloaded its accompanying software.
The colour temperature of the light can, to a great extent, be compensated by selecting the appropriate “white balance” setting, either when you capture the image or in post processing. (If using JPEG, you really must do this when shooting). The camera’s default “profile” can also be used of course, but is this precise enough?
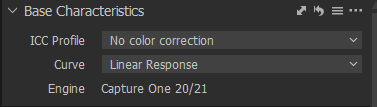
To be honest, for the vast majority of pictures, the answer is yes. But for the specific application I have (reproducing paintings etc…), it may not be ideal. Thankfully, companies the likes of X-Rite, Adobe and Phase One make it very easy to set up the necessary “camera profile” that provides compensation for all these non-ideal phenomena (at least when using raw format), by including the colourful patches in a test shot or two, using RAW format. Process the test shots, assuring that the default profile is turned off (in Capture One Pro, this is under “Base Characteristics” – see the screen grabs: they are similar in Lightroom) and setting the response curve to “linear”, we then need to isolate the colour checker by cropping to it, to make an image suitable for the X-Rite software to analyse.
 Select these for camera calibration
Having done that, we then need to export an image that the X-Rite programme can read. This must be 16-bit TIFF, and not be influenced by any output profile. (For Adobe users, a DNG file can be used instead of TIFF). So, we select “embed camera profile”, which through the above step is now set to be fully neutral.
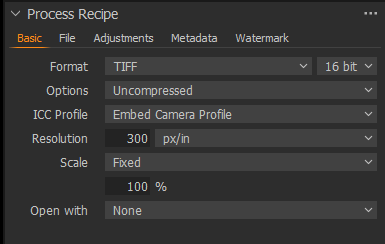 Output process
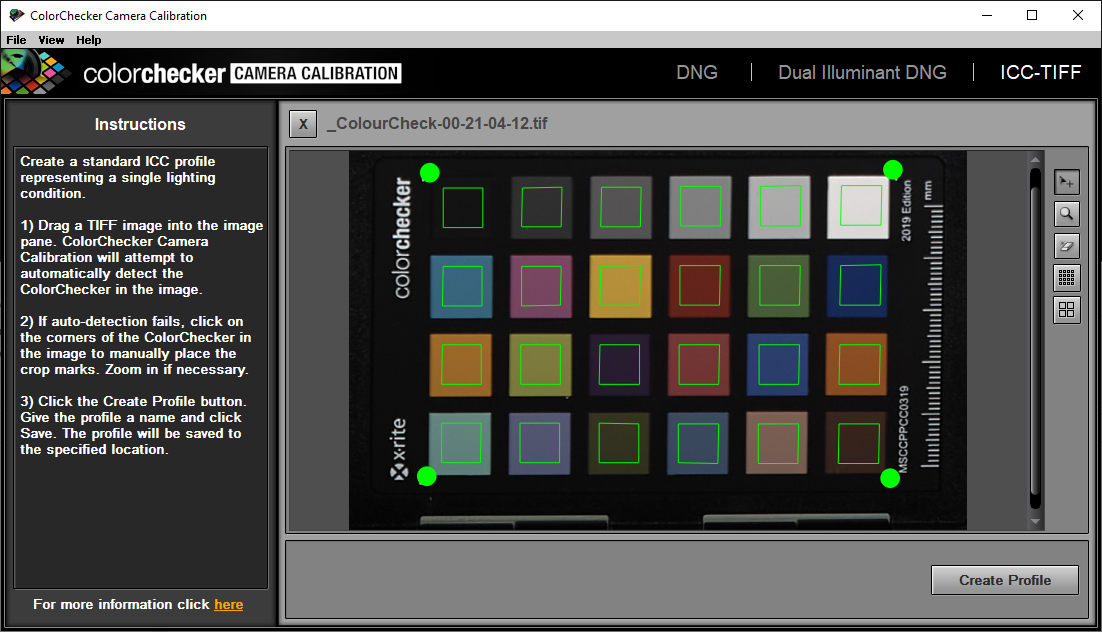
We can then simply “drag and drop” the resulting TIFF image into the X-Rite programme, tweak the automatically detected reference points and let it do its magic. Give the resulting profile a name to remember, selecting “ICC” for Capture One Pro or “DNG” for Adobe, and save it.
Back in Capture One (or Lr / Ps), select the camera ICC profile just created (and select “auto” Curve) in the “Base Characteristics”

and you’re ready to roll with a very nicely calibrated front end!
